 |
| Base coats on both ascent and descent stages |
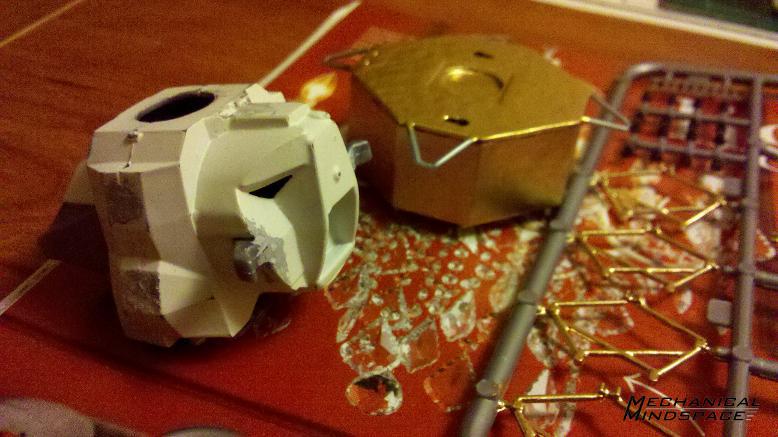 |
| A little bit of filling/modification on the ascent stage |
This first images skip over a lot of the prep-work I did on the general shape and details of the model. I spent a fair few hours sanding edges, adding details, smoothing imperfections and so on before I even put the first coat of primer on. Then I repeated that process two or three times before I was ready to begin final details.
 |
| Nearly finished painting the main body |
Here is the main portions of the ascent and descent stages all painted. This was taken before decals and clear coat had been applied. Extra details such as antennas and base were still forthcoming at this point.
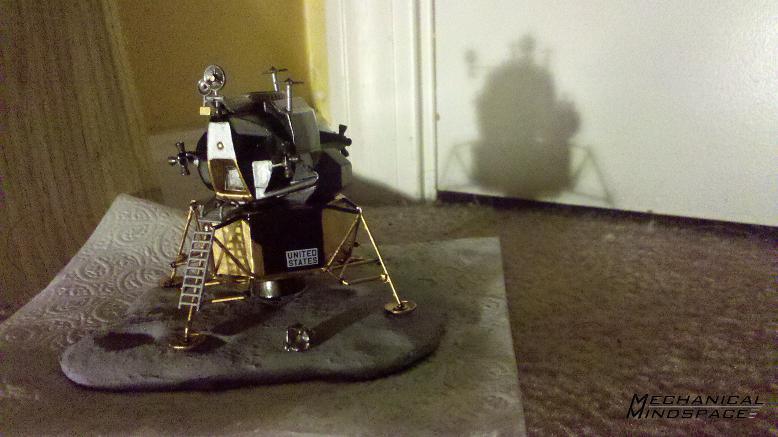 |
| The finished model before final clear-coat. Notice the custom made base |
The final model. All details had been added by this point. The only detail missing was a couple coats of clear. I custom made the base using modelling clay (Super-Sculpey I believe) and coated it with a mixture of charcoal powder and tile grout to get the texture right. I then added the "moon rock" which is actually a small meteorite.
Overall, I am very pleased with how this model turned out. Considering it cost me a mere $10 for the kit, I really have no complaints. Some day I would like to do another in a larger scale, offering even more detail.
No comments:
Post a Comment